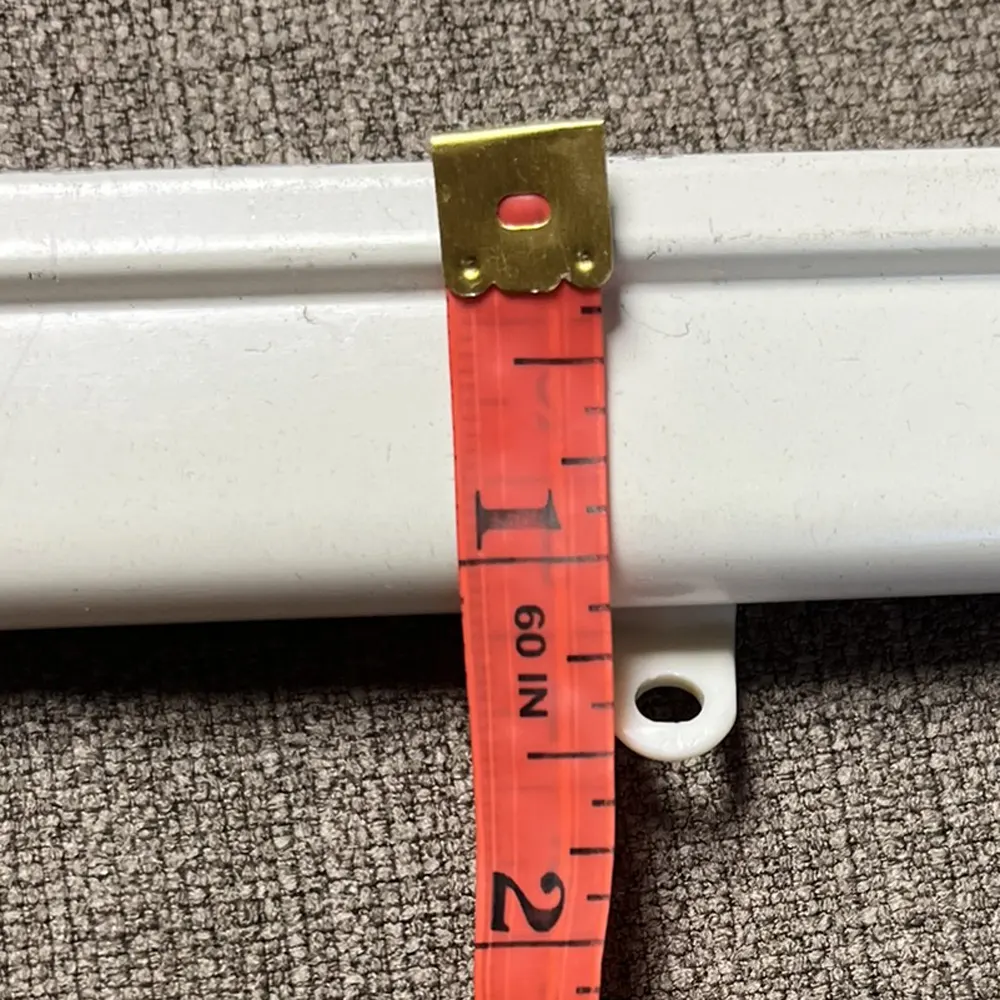
At www.InteriorDecorating.com we can help you order custom made draperies and curtains (and lots more). One of the questions on our custom drapery form asks for your pin setting. This is a measurement from the top of the pin to the top of your drapery. Drapery pins can be hooked into a curtain ring or a traverse rod carrier. Although drapery pins can be reset by hand, it is a tedious process that is best done by the professional making your draperies.
Things to Know
Pins can be adjusted - just remember to keep the height the same across the panel. Move the pin down to shorten your draperies and move the pin up to lengthen them.Typically, there will be one pin per pleat.
Determining Pin Settings
Start by measuring where you want the top of the drape to "hit". With a curtain ring, typically the top of the drape touches the bottom of the ring. With an eyelet, this usually requires a 1/2" pin setting.For the traverse rod shown, if you want the drape to touch the bottom - typical with ceiling mounted track, it would be 1/2 inch; if you wanted the pleats to cover the rod and reach the top, it would be 1 1/2" inches.
Inserting Drapery Pins
For uniform gathers, space the pins evenly, usually every four to six inches. If your draperies have pleats, insert the pins into the lower backside of each pleat for a crisp appearance.Insert the pointy end of a drapery pin into the fabric at your marked spot, ensuring it’s secure but not poking through to the room-facing side. Repeat this process until all pins are positioned.
Please note that with our custom-made draperies, the pins are inserted at your specified position in the workroom.


No comments:
Post a Comment